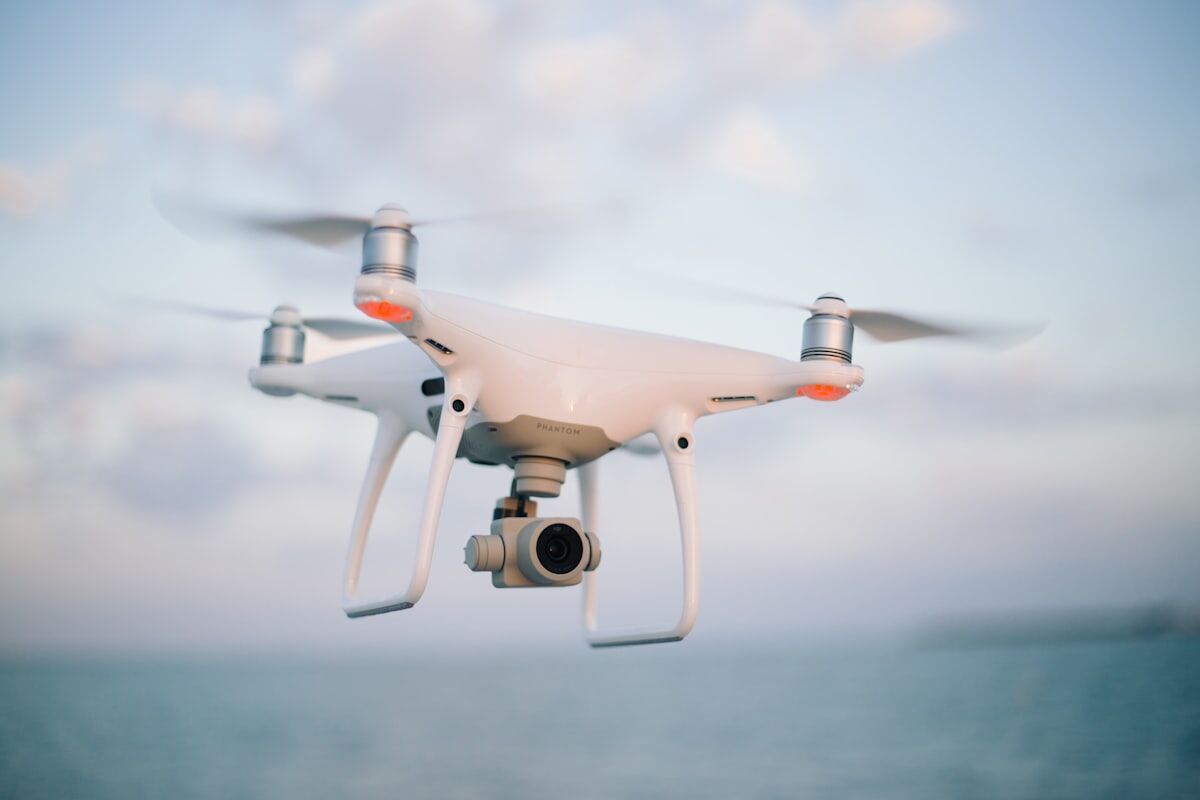
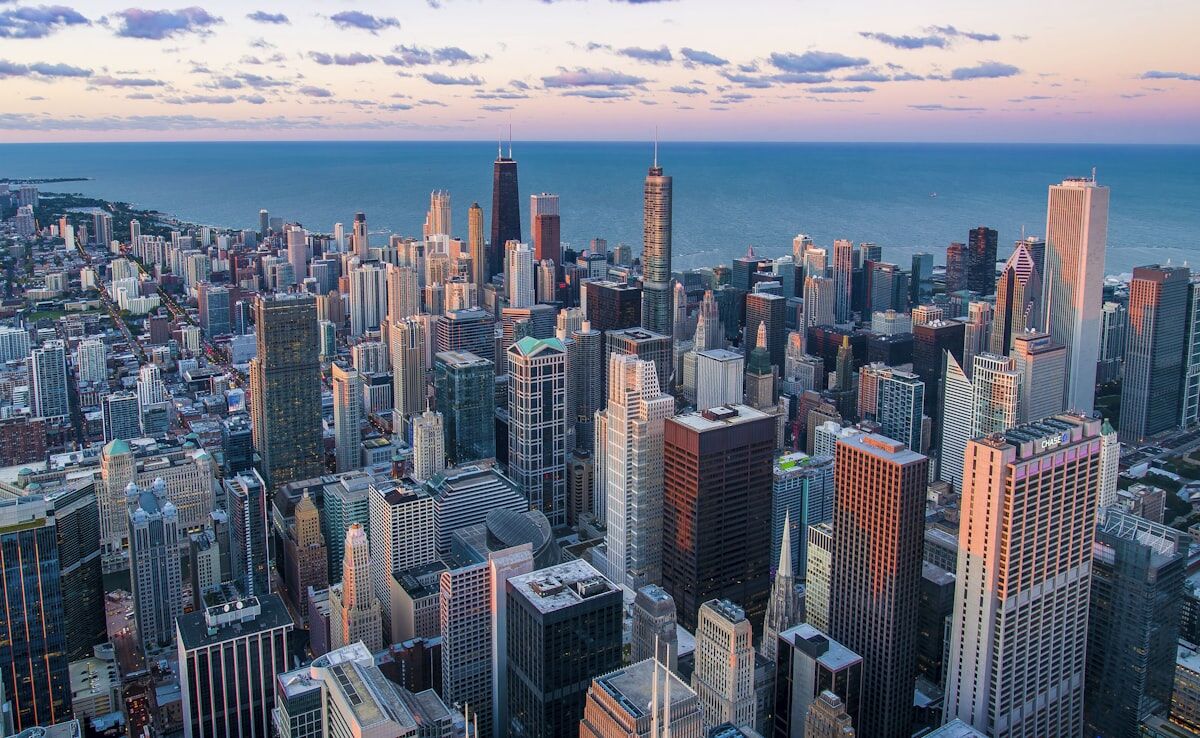
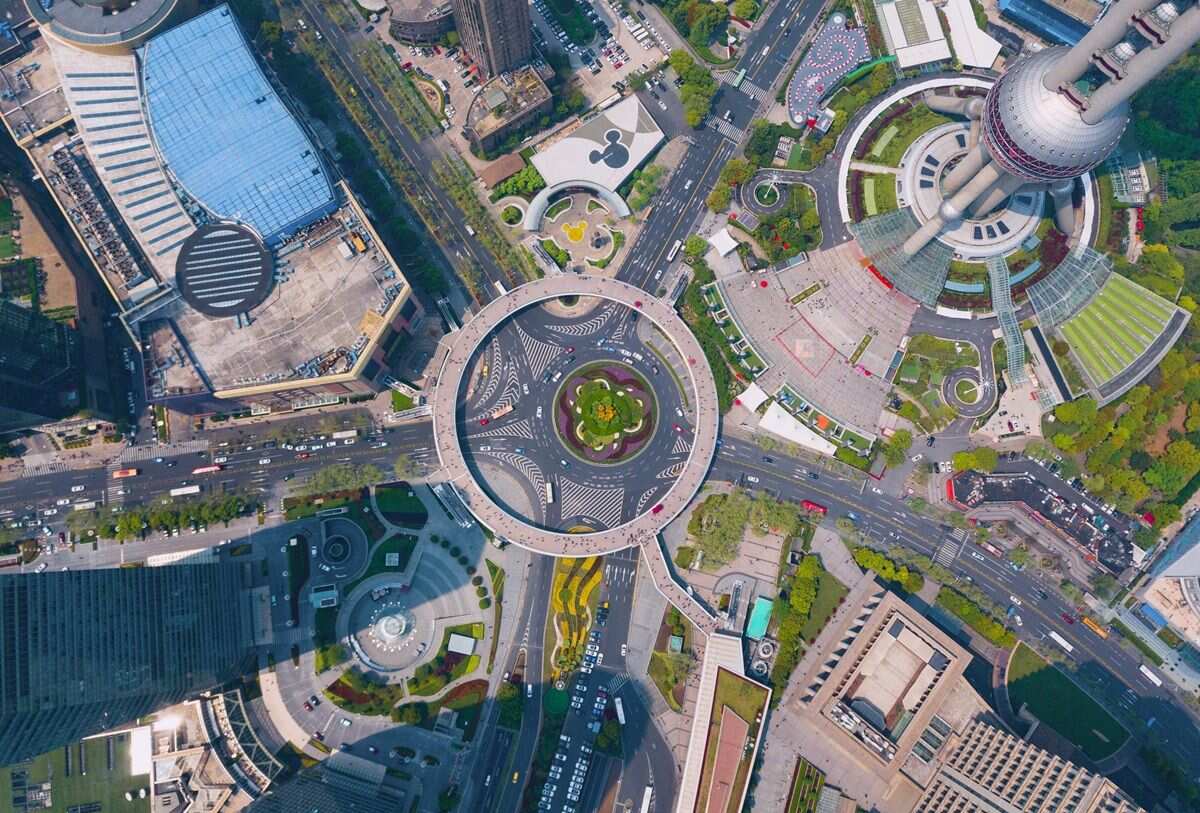
Camera angle is the single most consequential decision in any drone mapping flight. Nadir capture points the camera straight down at 90 degrees to the ground, producing top-down imagery ideal for orthomosaics and area measurements. Oblique capture tilts the camera between 30 and 60 degrees off vertical, revealing building facades, wall textures, and vertical surfaces that nadir imagery completely misses.
The choice between oblique and nadir determines what your final 3D model can and cannot show. A nadir-only dataset produces clean planimetric maps but flat, featureless walls. An oblique dataset captures rich vertical detail but introduces more geometric complexity during reconstruction. Understanding when to use each — or how to combine them — is the foundation of effective drone photogrammetry.
Key Takeaways
- Nadir capture points the camera straight down (90 degrees), producing clean planimetric maps with uniform scale; oblique capture tilts the camera 30-60 degrees off vertical to reveal building facades, walls, and vertical surfaces nadir completely misses.
- Nadir-only datasets produce accurate orthomosaics and digital surface models for flat terrain; oblique data is essential whenever walls, windows, doors, vehicle crush profiles, or structural damage need to appear in the 3D model.
- Combining nadir grid passes with oblique orbit passes produces the most complete dataset — nadir anchors horizontal geometry while oblique fills in vertical detail — at the cost of roughly double the flight time.
- For time-critical public safety operations, a single oblique orbit around the primary structure often captures enough wall geometry to build a complete model without a separate nadir pass.
- SkyeBrowse's automated Orbit mode flies an oblique path with the gimbal tilted inward automatically, while Universal Upload processes manual oblique or nadir video from any device at the same 1:1 processing speed.
Contents
- What is the difference between oblique and nadir capture?
- When does nadir capture produce better results?
- When is oblique capture the right choice?
- Can you combine both angles in one flight?
- Where Does SkyeBrowse Fit?
- Related Comparisons
- Get a SkyeBrowse Recommendation
What is the difference between oblique and nadir capture?
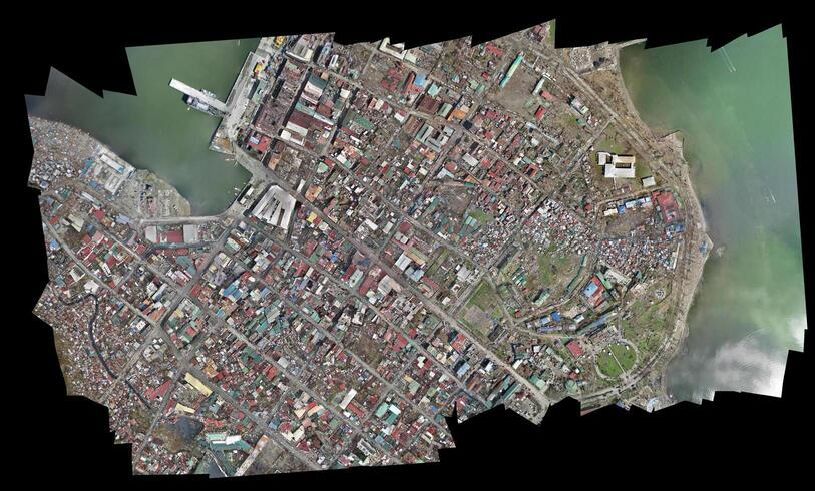
Nadir capture positions the drone camera perpendicular to the ground, capturing straight-down imagery. Oblique capture tilts the gimbal forward or to the side, typically between 30 and 60 degrees, to capture vertical surfaces like building walls, cliff faces, and structural facades. Nadir excels at flat terrain and rooftop mapping; oblique excels at structures with significant vertical geometry.
The technical distinction matters because reconstruction algorithms handle each angle differently. Nadir images have consistent ground sample distance (GSD) across the frame since every pixel is roughly the same distance from the camera. Oblique images have variable GSD — pixels near the bottom of the frame are closer to the camera than those near the top, which means resolution varies within a single image. This is why nadir data produces cleaner orthomosaics, while oblique data produces more complete 3D mapping of structures.
For drone photogrammetry workflows, nadir images stitch together into seamless top-down maps with uniform scale. Oblique images contribute the wall and facade geometry that turns a flat map into a true three-dimensional model. Neither angle alone tells the full story of a complex scene.
When does nadir capture produce better results?
Nadir capture is the standard for large-area surveys, agricultural monitoring, construction progress tracking, and any project where a calibrated top-down map is the primary deliverable. If you need to measure roof areas, calculate stockpile volumes from above, or generate GeoTIFF exports for GIS platforms, nadir is the default choice. The uniform GSD makes measurements more reliable across the entire image footprint.
Flat terrain with minimal vertical features — farmland, parking lots, open construction pads, disaster debris fields — maps cleanly with nadir alone. Adding oblique passes to these scenes adds flight time without meaningful improvement to the deliverable. For 3D mapping of flat sites, nadir data processed through photogrammetry pipelines produces orthomosaics and digital surface models efficiently.
When is oblique capture the right choice?
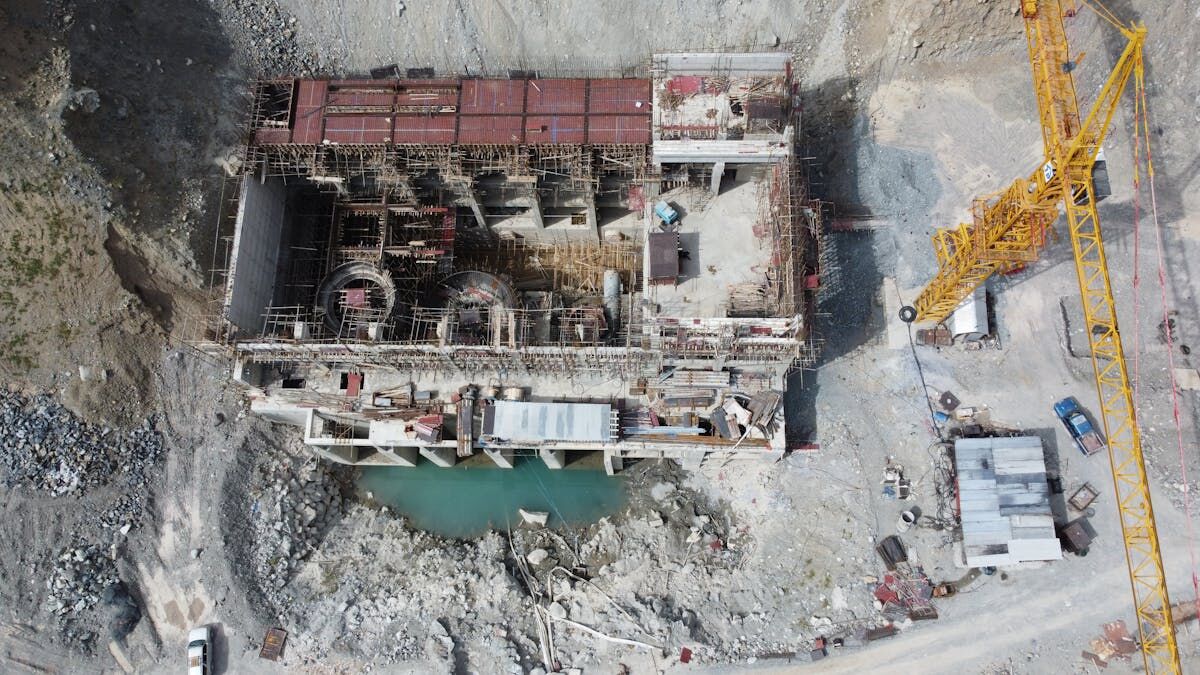
Oblique capture is essential when vertical surfaces carry critical information: building condition assessments, accident reconstruction where vehicle damage patterns matter, crime scene documentation of structures, and facade inspections. Any scene where walls, windows, doors, or structural damage need to appear in the model requires oblique angles.
| Attribute | Nadir Capture | Oblique Capture |
|---|---|---|
| Camera angle | 90 degrees (straight down) | 30-60 degrees off vertical |
| Best for | Orthomosaics, area measurement, flat terrain | Facades, structures, vertical surfaces |
| GSD consistency | Uniform across frame | Variable (near to far) |
| 3D model completeness | Rooftops and ground only | Walls, rooftops, and ground |
| Orthomosaic quality | High, uniform scale | Lower, perspective distortion |
| Typical flight pattern | Grid (lawnmower) | Orbit or crosshatch grid |
| Processing complexity | Standard | Higher (variable geometry) |
| Operator skill | Low | Medium |
For accident reconstruction, oblique angles capture vehicle crush profiles, guardrail deformation, and traffic sign positions that nadir views compress into unreadable overhead silhouettes. For building inspections, oblique passes reveal crack patterns, water damage, and cladding conditions on every wall face.
Can you combine both angles in one flight?
Yes, and for many projects the combined approach produces the most complete dataset. A nadir grid pass maps the overall site, and an oblique orbit pass fills in the vertical surfaces. The reconstruction algorithm uses both datasets together, with nadir images anchoring horizontal geometry and oblique images contributing wall and facade detail.
The tradeoff is flight time and battery consumption. A nadir-only grid of a one-acre site might take 8 minutes. Adding a full oblique orbit around each structure on that site could double the total capture time. For time-critical operations like accident scenes or active emergency zones, operators need to decide whether the additional vertical detail justifies the extra minutes in the air. In many public safety applications, a single oblique orbit around the primary structure captures enough wall geometry to build a complete model without a separate nadir pass.
Where Does SkyeBrowse Fit?
SkyeBrowse handles both capture angles through its videogrammetry pipeline. The SkyeBrowse Flight App provides automated Orbit mode, which flies an oblique path around a structure with the gimbal tilted inward — no manual gimbal adjustment needed. For nadir-style area coverage, the WideBrowse/Grid pattern flies a lawnmower path at a set altitude.
Universal Upload accepts video from any angle and any device, so operators who fly manual oblique or nadir passes with non-supported drones can still process through app.skyebrowse.com. Uploading DJI .SRT or Autel .ASS telemetry files alongside the video improves georeferencing regardless of capture angle. Accuracy tiers scale from Lite (2-6 inch) through Premium (8K, 0.25 inch) to Premium Advanced (16K, 0.1 inch with AI object removal), and processing runs at approximately 1:1 time.
Get a SkyeBrowse Recommendation
Whether your workflow needs oblique orbits for facade detail, nadir grids for site-wide orthomosaics, or both, SkyeBrowse processes the video into a measurable 3D model without switching platforms.