 Creating maps and 3D models used to be a complex photogrammetry process. It required long processing times and access to specialized software. Today, you can turn a video recording into a clear spatial model faster than it takes to prepare a traditional field report.
In this guide, we’ll walk you step by step through a modern reality capture workflow using SkyeBrowse — from planning your recording all the way to a finished 2D map and 3D model available directly in your browser.
Want to see how you can move a real-world scene, construction site, or object into the digital world in just a few simple steps? Go through the entire process with us and explore how the free version works. See for yourself how quickly you can start working with your own 3D models.
Contents:
- What does creating a 3D map really mean, and how do you choose the right workflow?
- How to record footage that will provide an accurate 3D map and what mistakes to avoid?
- What happens after you upload a video to SkyeBrowse, and where do the 2D/3D models come from?
- From first map to real-world work - When to upgrade from Freemium to Pay-Per-Model or Premium and how to get started step by step?
What does creating a 3D map really mean, and how do you choose the right workflow?
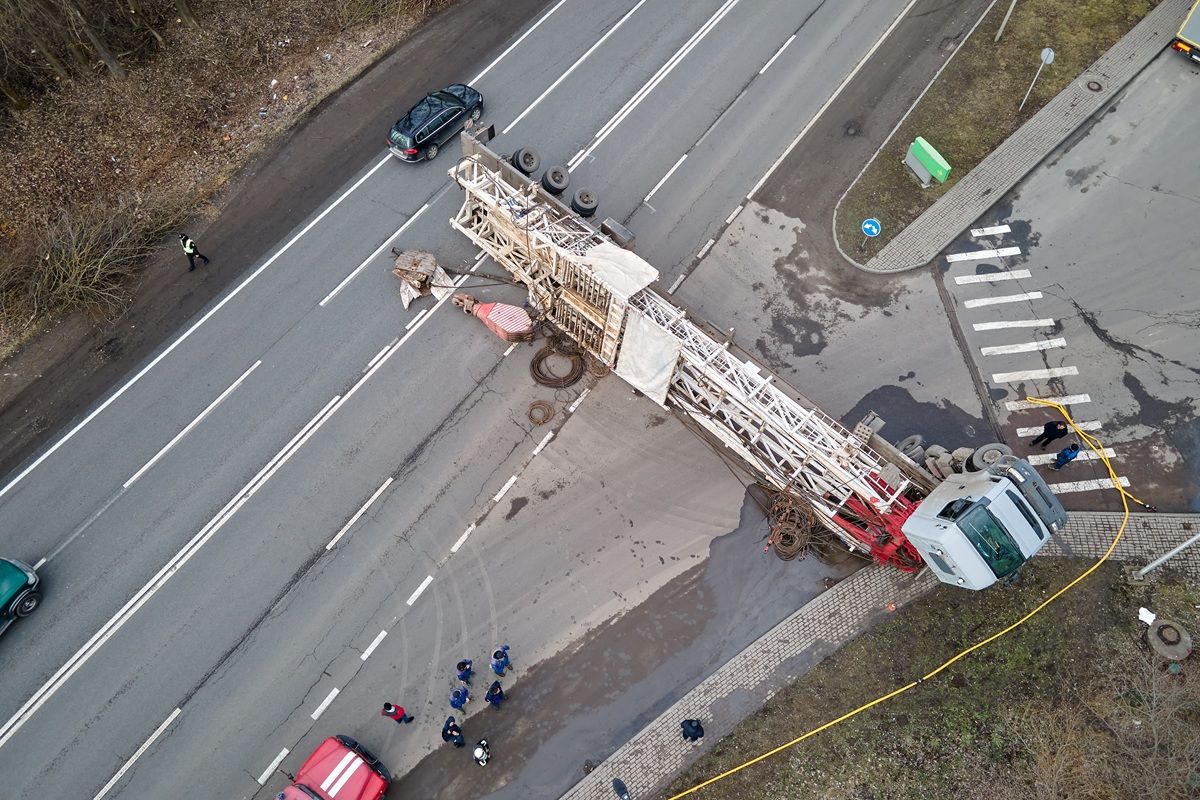
Creating a 3D map doesn’t start with technology — it starts with your objective. That goal determines whether you need a quick situational overview or detailed material for further analysis, measurements, or reports. If you work in operational, construction, inspection, or investigative environments, what matters most is speed and data clarity, not tool complexity. SkyeBrowse simplifies the process of creating 2D maps and 3D models into just a few intuitive steps.
It’s helpful to organize the basic concepts.
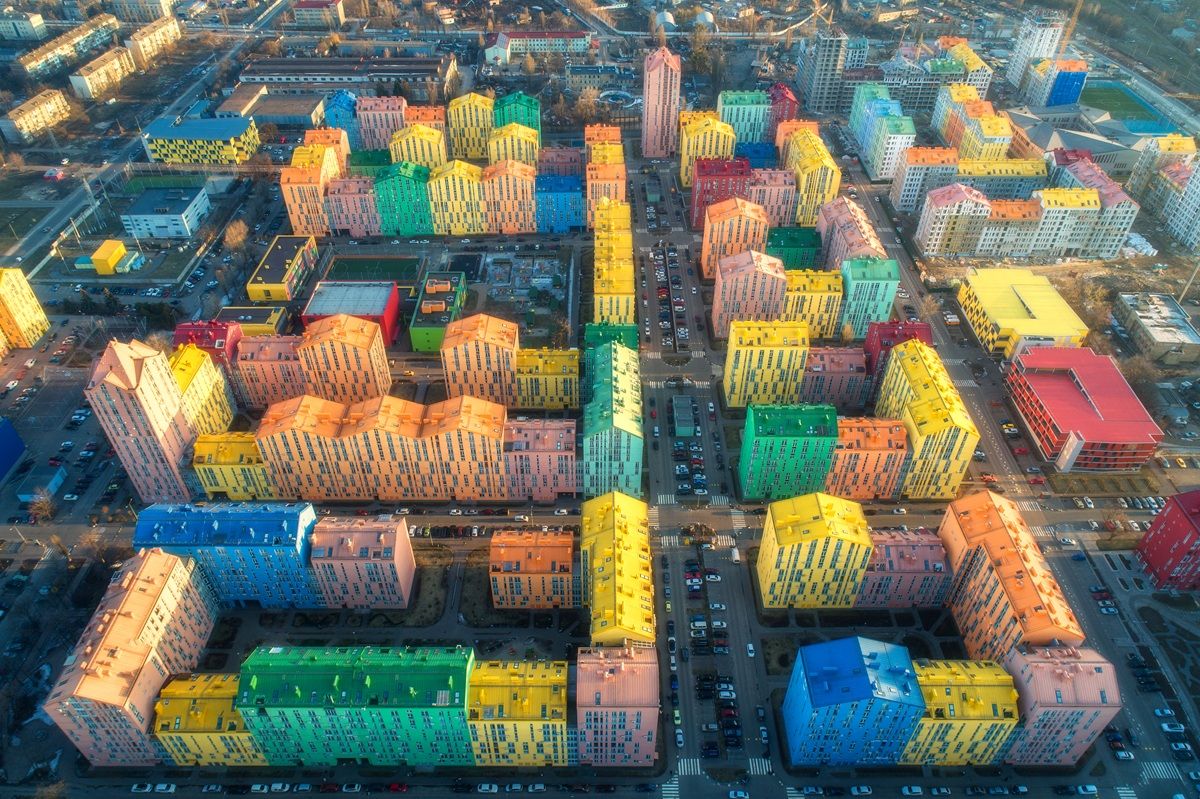
- A 2D map is a top-down view that allows you to quickly understand site layout and spatial relationships.
- A 3D model, on the other hand, lets you view the scene from multiple perspectives and analyze elevation, structures, and depth.
 Traditionally, obtaining this kind of data required advanced photogrammetry and hundreds of photos. With the approach used by SkyeBrowse, you capture video instead, and the platform transforms it into a spatial model in the cloud. For you, this means less technical preparation and more time spent working with meaningful data.
The entire workflow can be reduced to a simple framework:
- shot planning
- recording the footage
- uploading the file
- automatic processing
- working with the finished model
The key is to define your objective and expected outcome—whether you need a quick scene overview for team communication or material for more detailed analysis. The answer influences how you fly, how much footage you capture, and how you use the model afterward. This way, you work intentionally and build data that serves your needs from the very start.
Not sure which model will work best for your projects? SkyeBrowse also has an experienced team of experts ready to help. Take advantage of comprehensive support and get in touch with us today.
How to record footage that will provide an accurate 3D map and what mistakes to avoid?
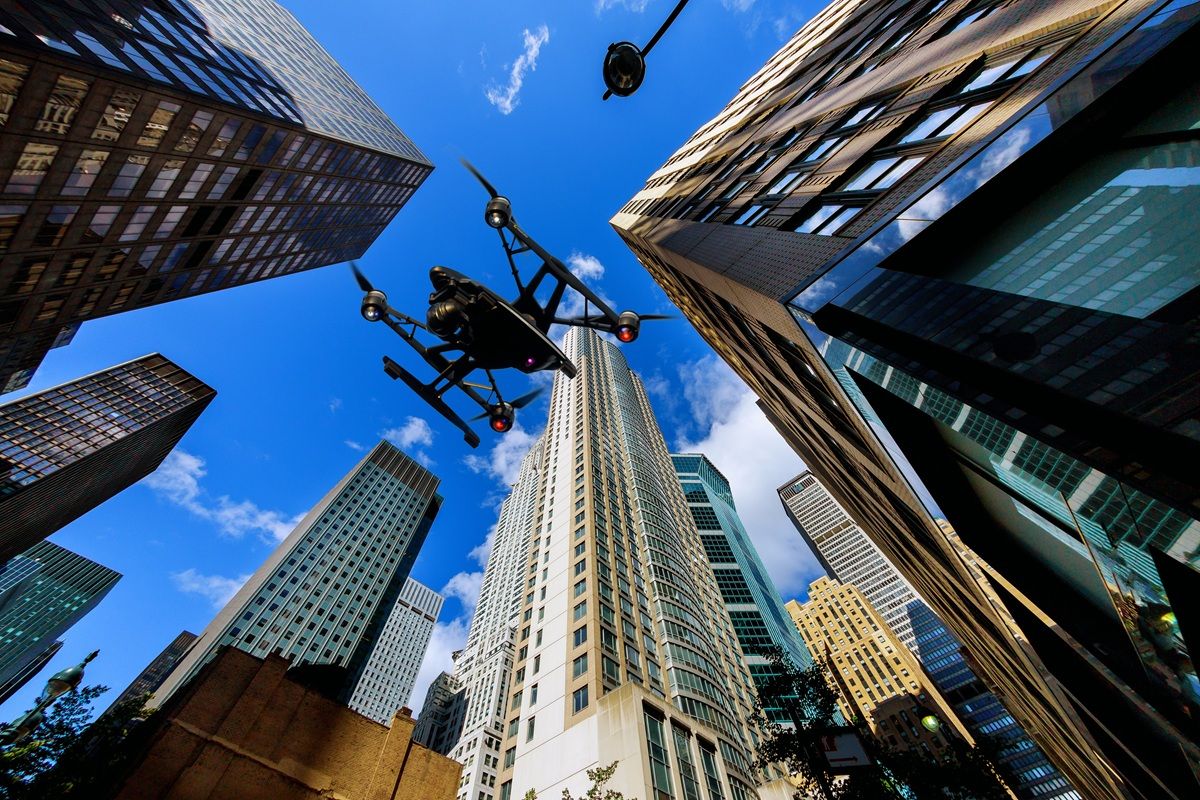
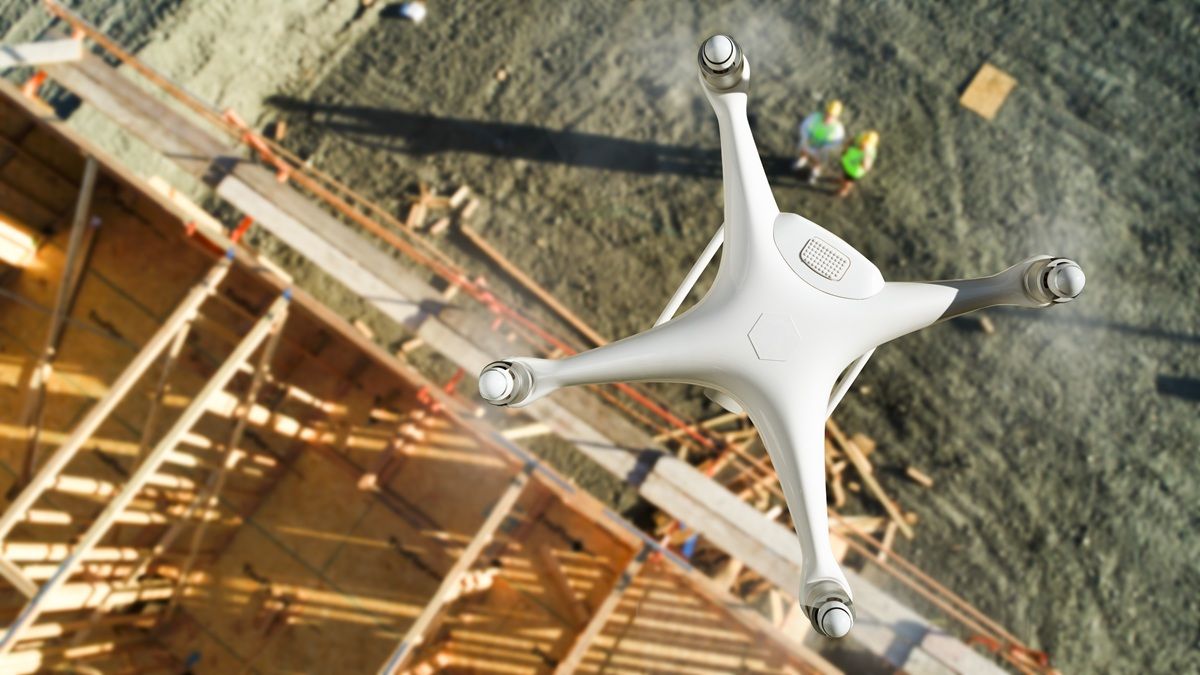
The quality of a 3D map begins at the moment of recording—whether you’re using a drone, a smartphone, or a 360° camera. Stability and smooth motion matter most. The camera should move evenly, without sudden jerks or abrupt direction changes. It’s the continuity of the footage that allows algorithms to accurately reconstruct space. It’s better to record slightly slower and more carefully, since overly dynamic movements can make later processing more difficult.
Camera angle is just as important. When recording footage for 3D mapping, the frame should be filled with the terrain, objects, and surfaces you want to recreate. Too much sky or horizon can interfere with the accurate reconstruction of infrastructure or ground surfaces. A consistent, slightly downward-tilted angle helps maintain coherent spatial data. It’s also worth paying attention to resolution — standard Full HD is often sufficient, as long as the footage is sharp and well lit.
Remember: detail clarity matters more than the highest possible camera settings. A good practice is to follow a logical recording path so that consecutive parts of the space naturally overlap. This overlap helps ensure the environment can be accurately reconstructed as a continuous model.
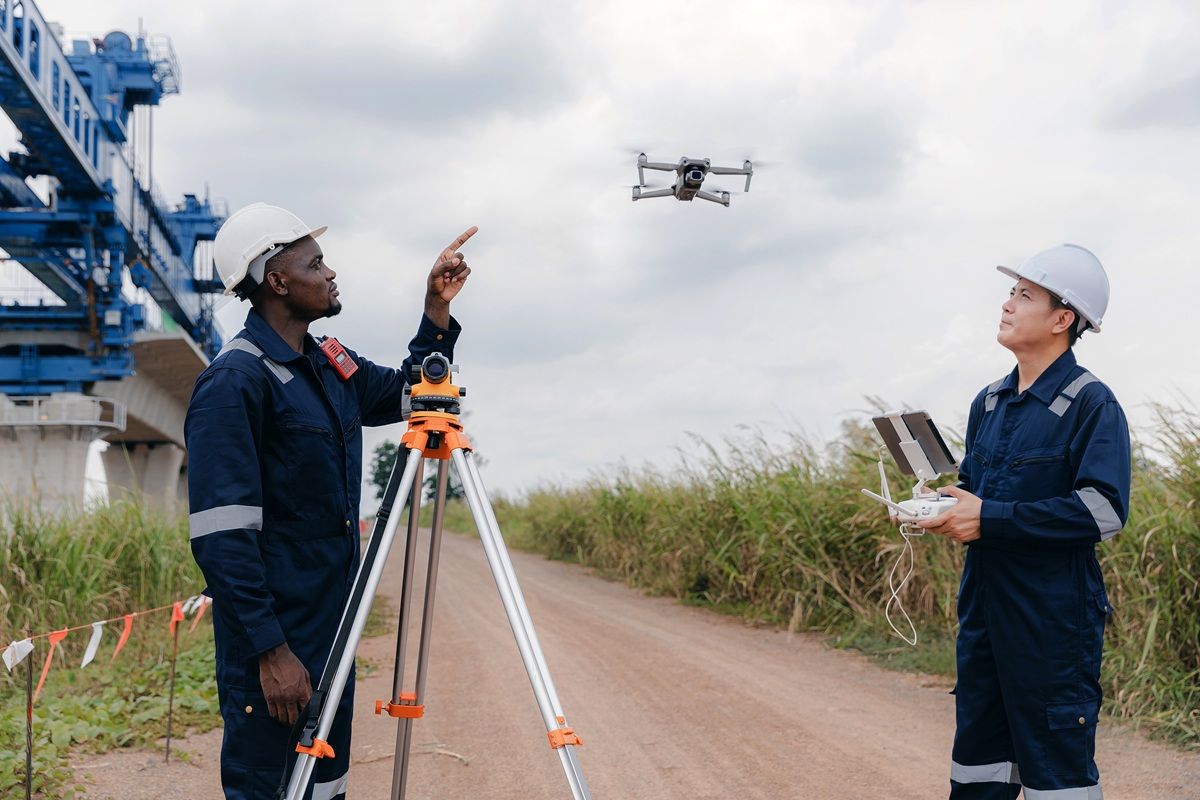
If you’re using a drone and have access to flight data such as telemetry, that information can further streamline processing on the platform side. With consistent, realistic footage, the advantages of the workflow offered by SkyeBrowse become clear—you record naturally, and the system handles the rest, transforming your video into a practical map and 3D model ready for further work.
What happens after you upload a video to SkyeBrowse, and where do the 2D/3D models come from?
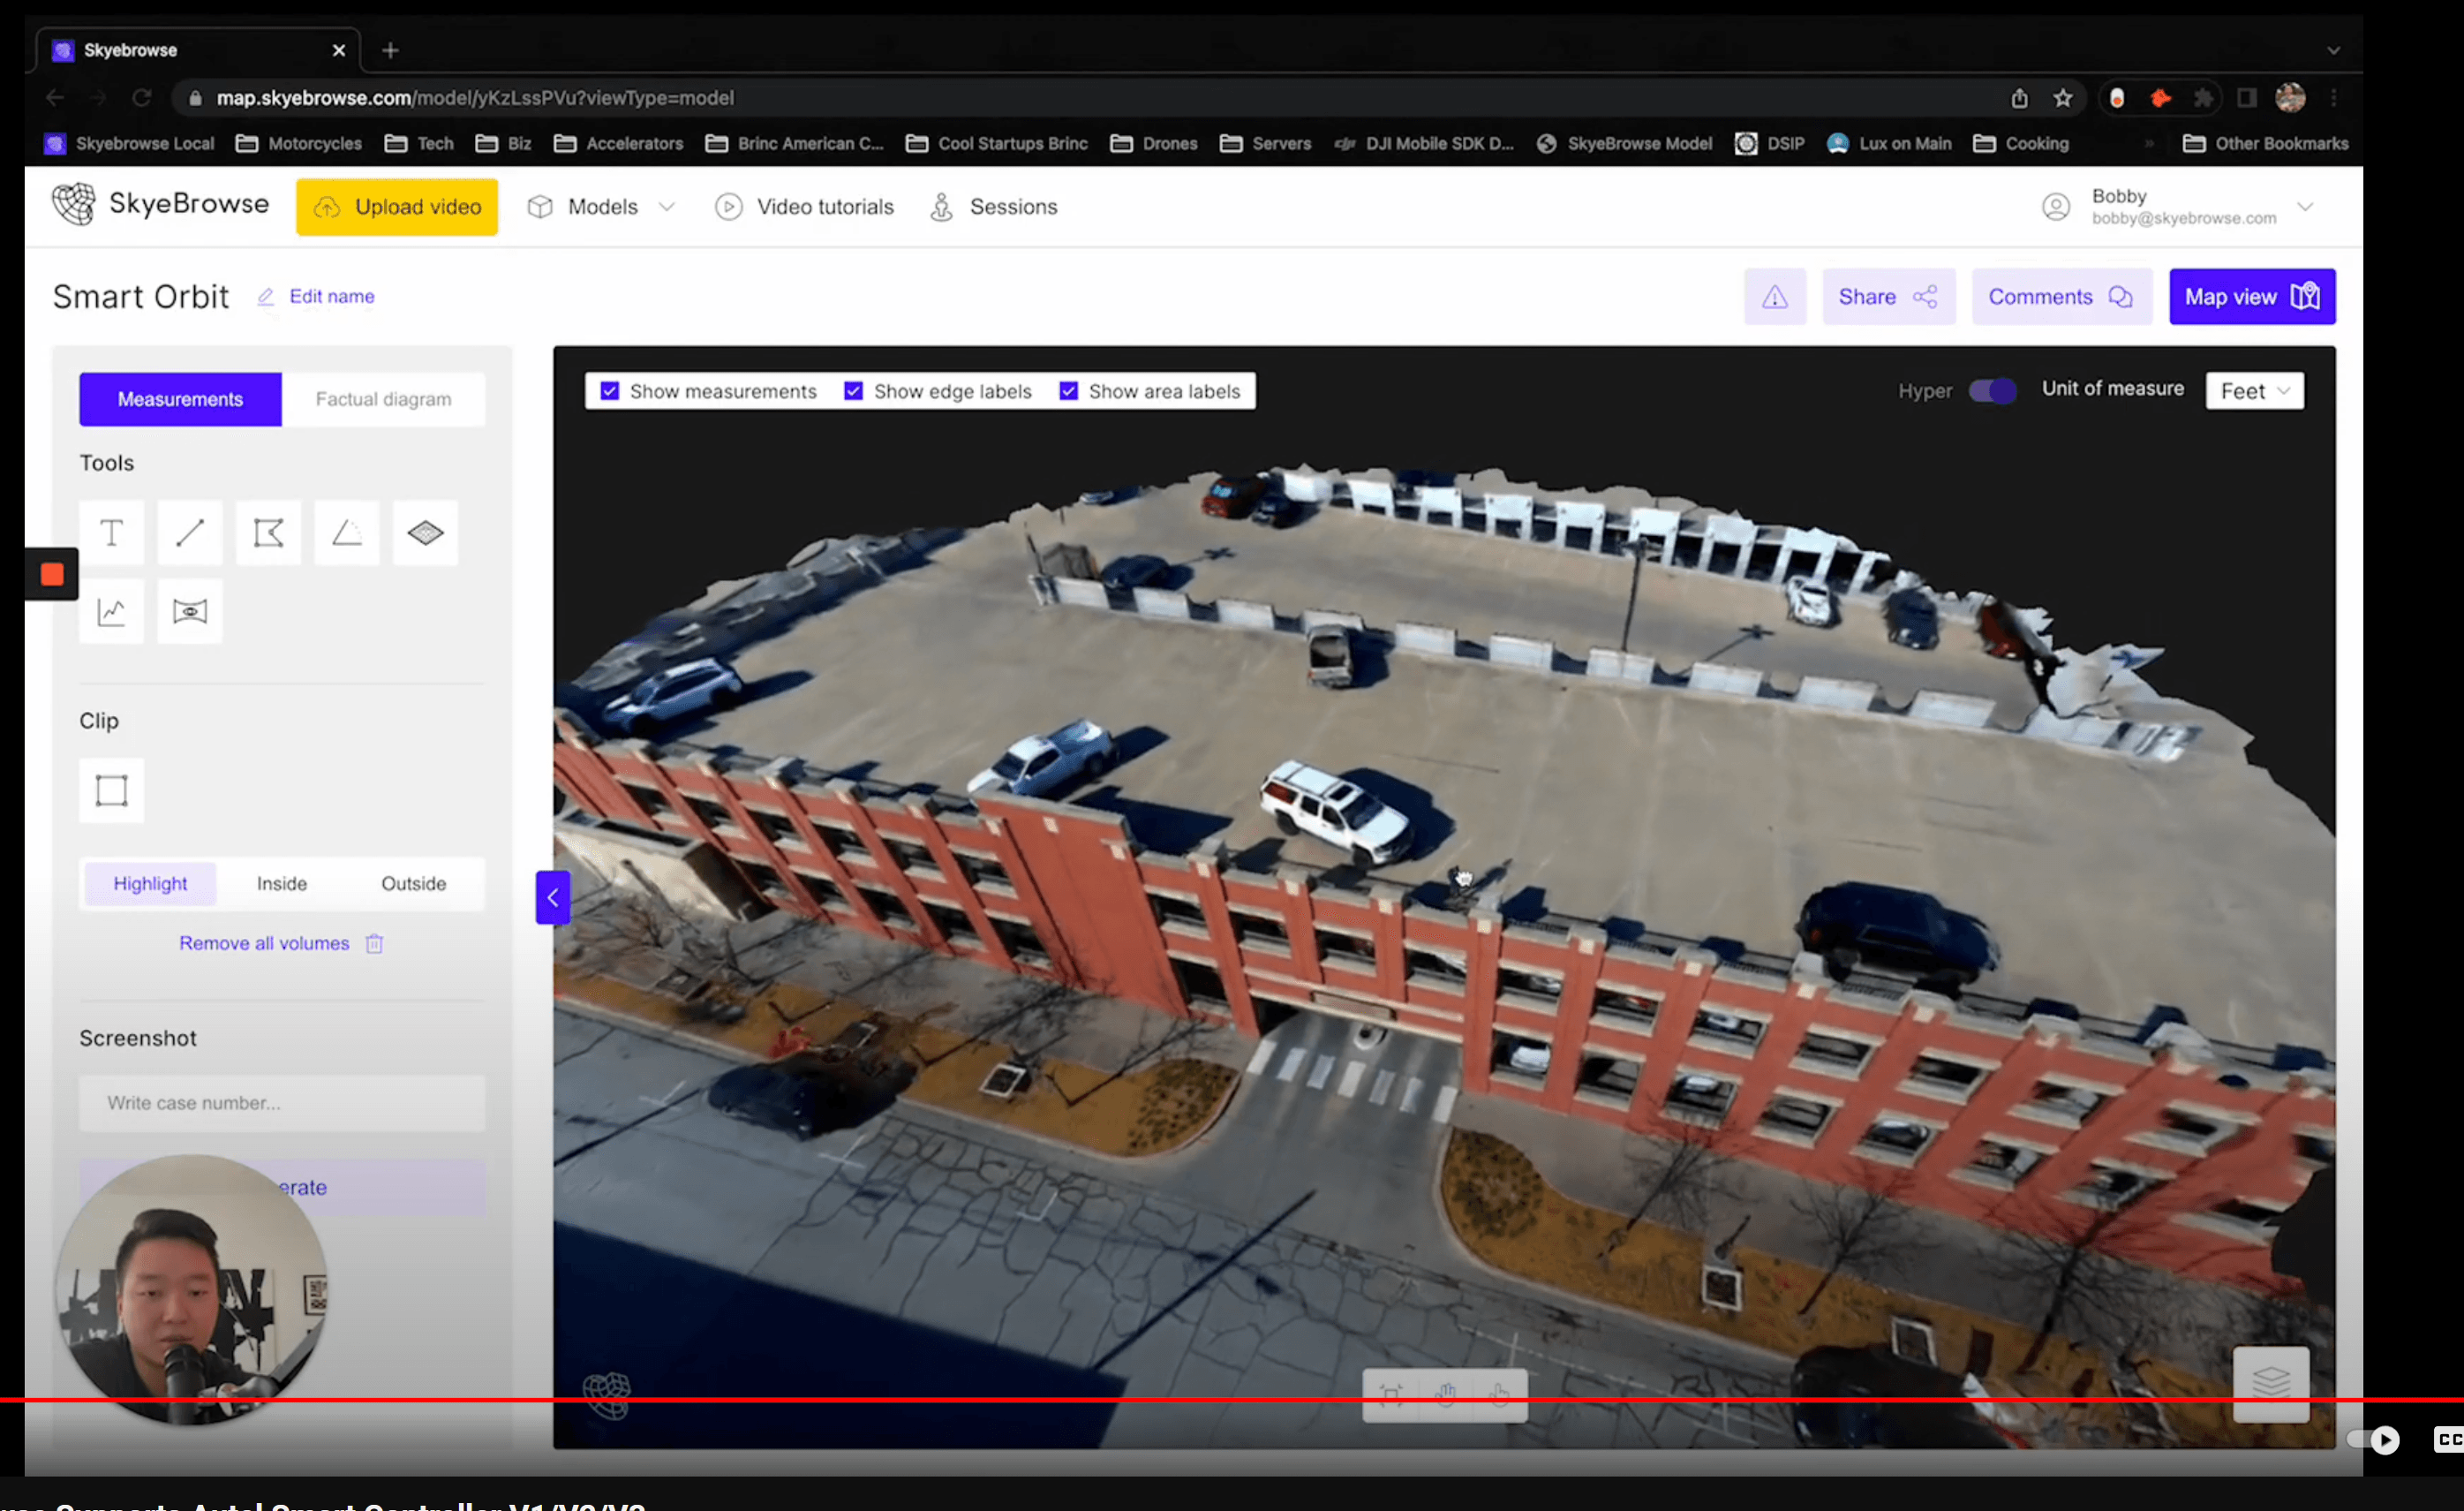
The moment you upload your footage is when your fieldwork starts turning into real spatial data. With SkyeBrowse, you don’t have to manually sort through hundreds of photos or configure complex photogrammetry settings. You simply upload your video to the platform, and the system uses a videogrammetry approach—reconstructing the geometry of space directly from video footage. For you, that means no technical barrier to entry and more time for actual analysis.
The process is straightforward and logical. You log in, upload your video file, and if you have flight data available, you can attach telemetry files as additional support for processing. The footage is then sent to the cloud, where it is automatically analyzed and converted into a 2D map and a 3D model. You don’t need a high-performance workstation or specialized local software. All the heavy lifting happens on the platform’s side, and you receive a notification when your model is ready.
It’s also important to choose the right tool based on the scale of the task. A drone works best for larger areas, extensive outdoor scenes, or urban infrastructure. A smartphone or 360° camera, on the other hand, can be a great choice for smaller objects, interiors, or locations where flying isn’t possible.
 The SkyeBrowse platform is compatible with popular hardware ecosystems such as DJI and Autel Robotics. This makes it easy to integrate SkyeBrowse into your existing workflow. Regardless of how the footage was captured, the result is the same — an interactive model available in your browser, ready for further work.
From first map to real-world work - When to upgrade from Freemium to Pay-Per-Model or Premium and how to get started step by step?
Your first 3D map is a turning point. It shows you how quickly you can bring reality into a digital environment. At the beginning, the Freemium model from SkyeBrowse is more than enough — especially when you’re testing the tool, learning the workflow, and seeing how models support communication and initial situation assessment. This is the exploration stage, where you build confidence that this way of working truly improves your operations.
Moving to Pay-Per-Model or Premium makes sense when a specific, one-time need for more advanced output arises. That could be a client project, an analysis requiring greater precision, or material that will become part of official documentation. With PPM or Premium, you can scale your projects whenever higher accuracy or additional features are required. It’s a natural next step after the testing phase — when you already see the real value of 3D data in your work.
The Premium plan is designed for teams and organizations that work with models on a regular basis and treat them as a standard part of operational processes. If 2D maps and 3D models are becoming the norm rather than the exception in your workflow, a subscription ensures continuity and access to a full set of tools.